 Search Ledger
Search Ledger
The Search Ledger screen is used to research ledger transactions.
Filters
Filters can be used in conjunction with each other. Click the Filters icon. Choose the filters you would like to apply and click the Apply Filters box to search for the transactions(s). Reset the filters by clicking Clear Filters.
Following are explanations of the various date fields:
- Cleared Date: The statement date associated with the bank statement in which a ledger transaction cleared
- Last Change Date: The date of the most recent update to the transaction
- Posted Date: The date the transaction was added to the ledger
- Pos Pay File Date: The date the transaction was included in a positive pay file
- Transaction Date: The date the transaction was expected to clear
IMPORTANT NOTE REGARDING QUARTER FIELD: The Quarter field is intended to tag the transaction with the quarter associated with the liability. For example, FUTA/SUI tax payments paid on 10/31/2023 are typically associated with Q3-2023. Therefore, Finlee will not automatically assign a quarter to ledger transactions. If you would like to assign a quarter to your ledger transactions when they are imported, please contact support to request a file parsing update.
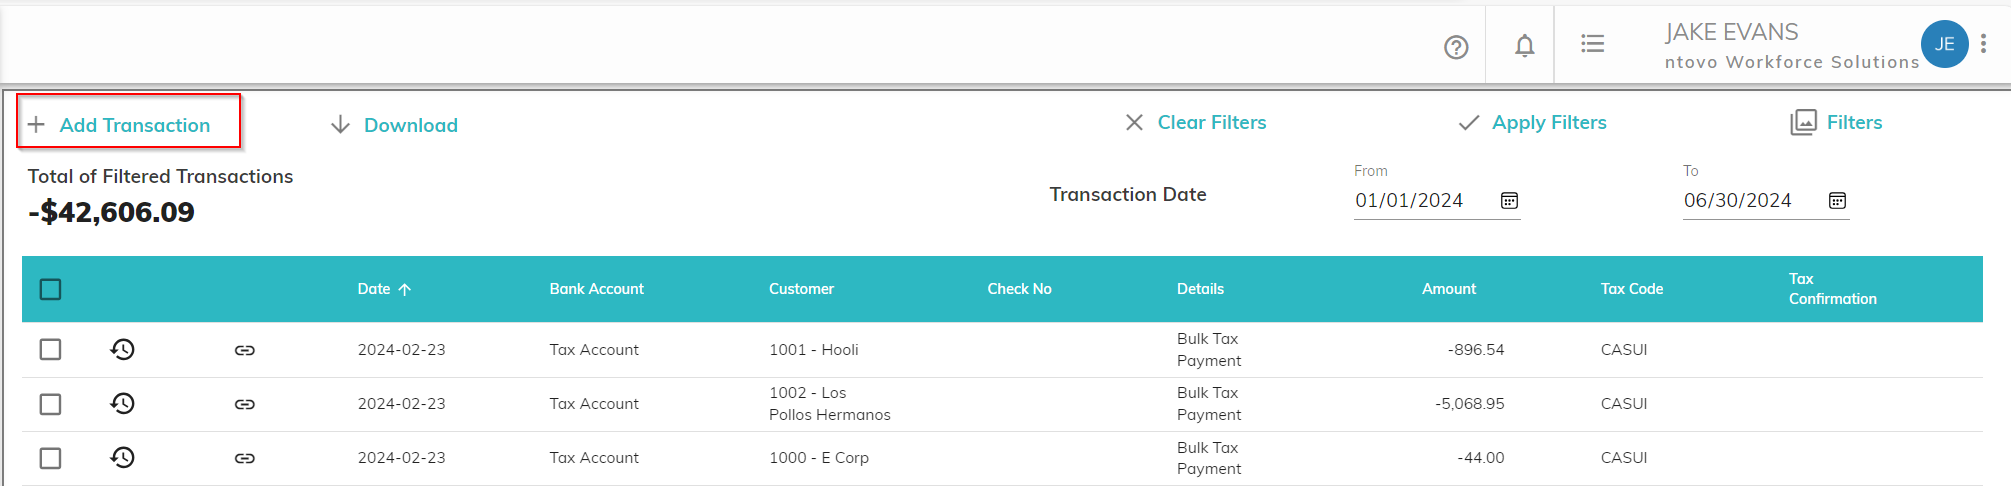
Add a Transaction
To add a transaction from the Search Ledger screen, click on Add Transaction. Fill in the information related to the transaction and click Save. Required fields are company, transaction date, details, amount, and bank account. See Add Transaction.
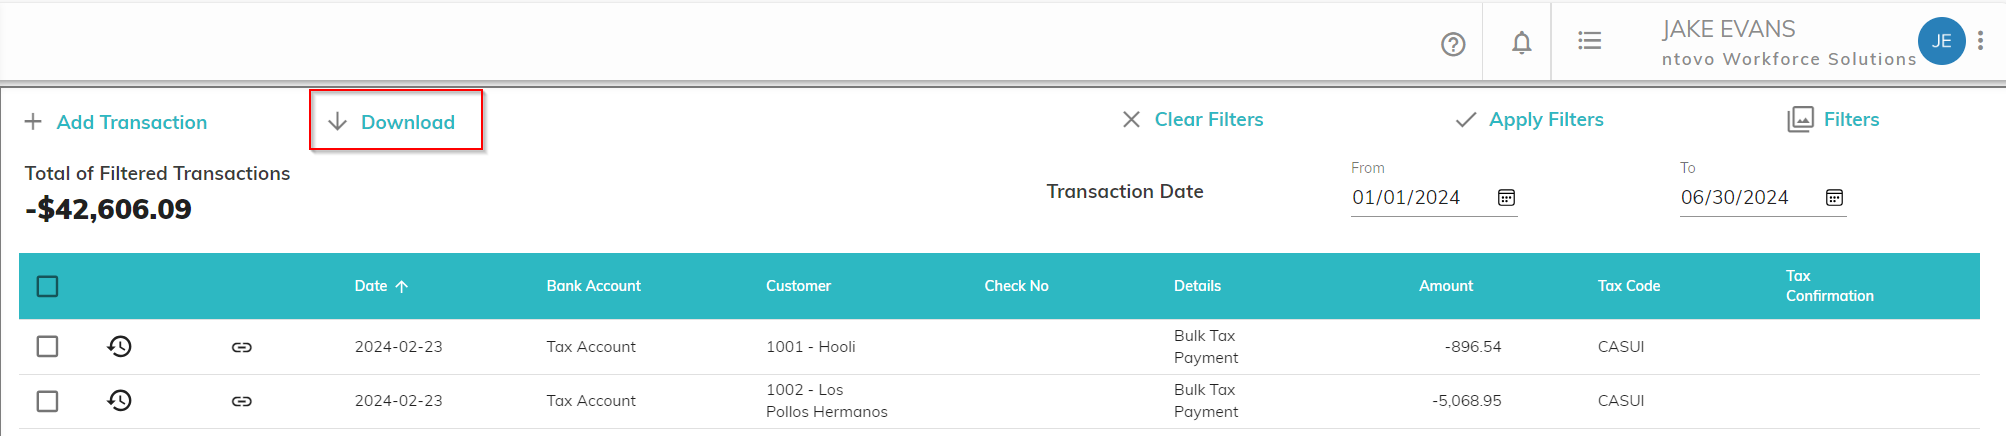
Downloading Transactions
To download filtered from the selected filters to a CSV file, click the download icon.
Editing a Transaction
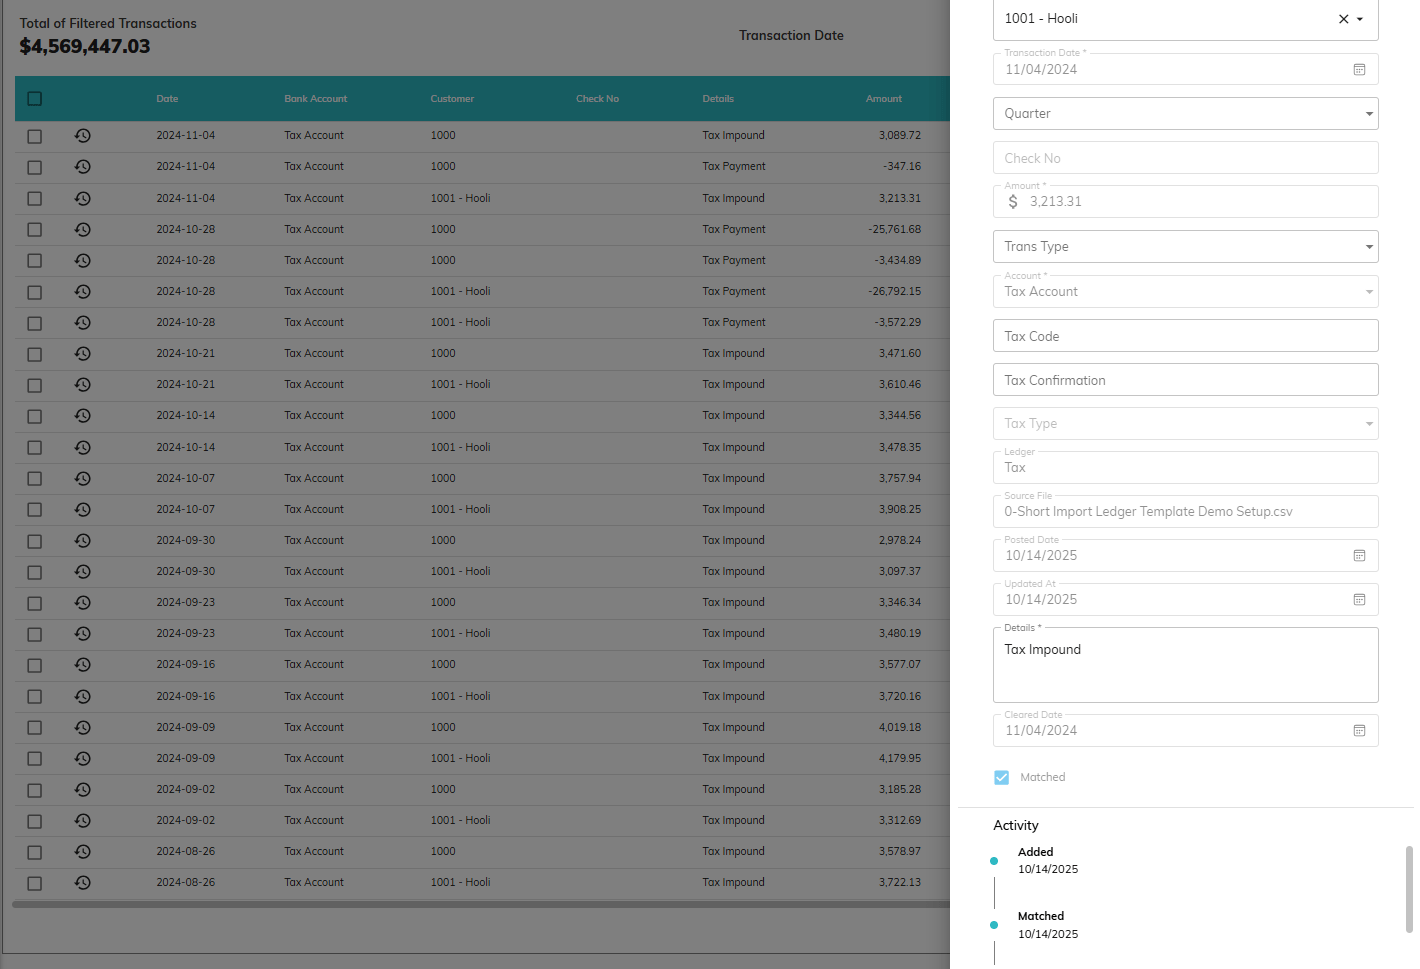
To edit a ledger transaction, click on the row containing the transaction. There are different options for editing, depending on the status of the transaction.
- Cleared Transactions: You can edit the company, quarter, details, transaction type, tax code, and reconciling item (See Add Transaction) if a transaction has already cleared.
- Outstanding Transactions: You can edit the company, quarter, transaction date, details, amount, check number, bank account, transaction type, tax type, tax code, reconciling item (See Add Transaction), and void status if a transaction has not been reconciled in bank statement.
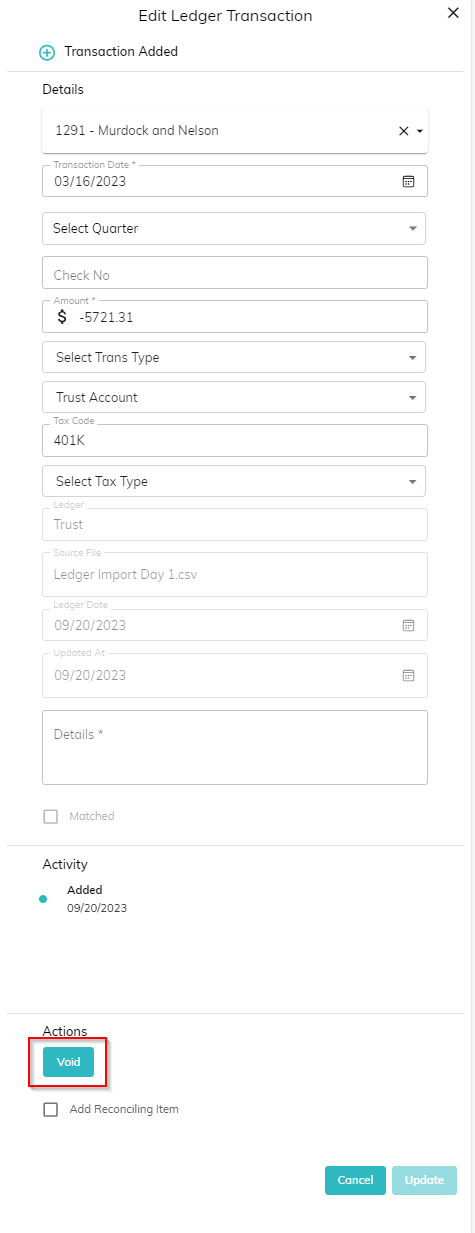
Voiding a Transaction
If a transaction has not been reconciled in a bank statement, it can be voided using the Edit Ledger screen. From Search Ledger, filter to find the transaction. Click on the row containing the transaction you would like to void. Click Void and confirm that you would like to void the transaction. Voided transactions can be identified on the Search Ledger screen as transactions that are greyed out on the Search Ledger screen.
To unvoid a previously voided transaction, click into the transaction to edit it, click unvoid, then confirm that you would like to unvoid the transaction.
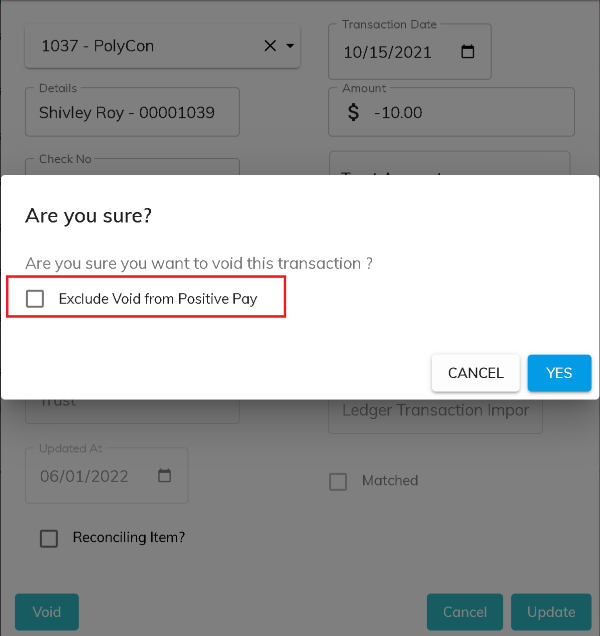
Exclude Voided Checks from Positive Pay
When voiding a check, you may want to exclude the voided check from the next positive pay file. To do so, check the box labeled 'Exclude Void from Positive Pay'.
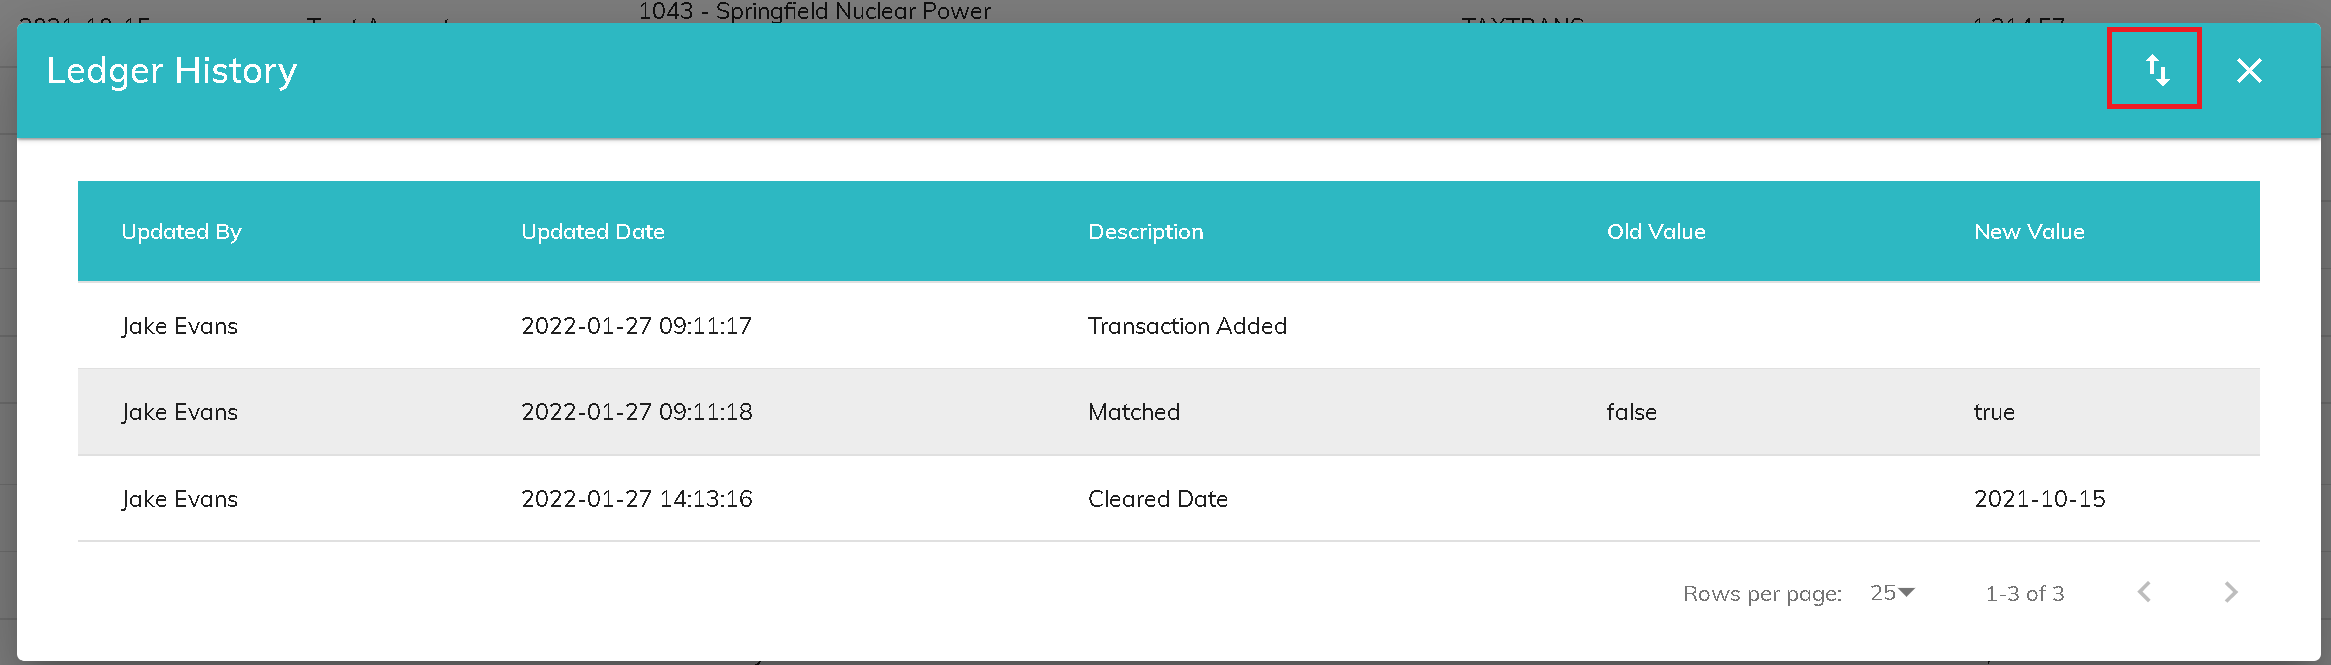
Transaction History
![]()
To see the audit history of a transaction, click the history icon from the Search Ledger screen. You will see a list of actions that have occurred for the transaction. The list can be downloaded by clicking the download icon on the header row.
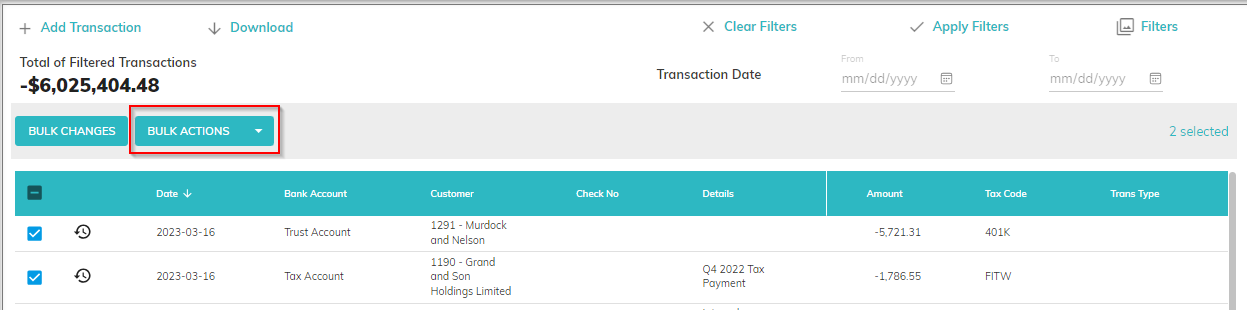
Bulk Actions
When you select the check box to the left of one or more transactions, the Bulk Actions button will appear. The Bulk Actions dropdown will have 4 options:
- Void: This action is available if all of the selected transactions are outstanding (have not cleared), are not currently matched to a bank statement item, and are banking transactions.
- Unvoid: This action will set the void field on all selection transactions to false, regardless of the current void status.
- Resend to PosPay: This action is available if all of the selected transactions are checks (the transaction as a check number or the transaction type is 'Check Paid'). Selecting this action will remove the PosPay created date from all of the transactions selected so that they will be available on the Manage Positive Pay tab to include in the next positive pay file.
- Set to non-banking: This action is available if all the selected transactions are outstanding (have not cleared), are not currently matched to a bank statement item, and are banking transactions. Because funds are being moved from one customer ledger to another, it is required that the selected transactions selected sum to $0. When you click on Set to non-banking, Assure will validate that the total of the selected transactions is $0 and will only allow you to proceed if they do. Otherwise, you will receive an error message indicating that the total of non-banking transaction groups must be $0.
Bulk Changes
When you select the check box to the left of one or more transactions, the Bulk Changes button will appear. Clicking the button will open a panel that allows you to select various fields to update. The values entered in the selected fields will be updated on all of the selected transactions.

The fields that are available to update depends on the status of the selected transactions. If all of the transactions are outstanding (have not cleared), are not currently matched to a bank statement item, and are banking transactions, you can update the following fields:
- Customer
- Transaction Date
- Transaction Type
- Bank Account
- Tax Type
- Check Number
- Tax Code
- Details
If any of the selected transactions have cleared, are matched to a bank statement item, or are non-banking transactions, you can update the following fields:
- Customer
- Transaction Type
- Tax Type
- Check Number
- Tax Code
- Details
© RAKE Digital Company, 2026 • Updated: 10/15/25
Comment or report problem with topic